Description
Australian-Made Starlink Gen 3 Flat Mount – White
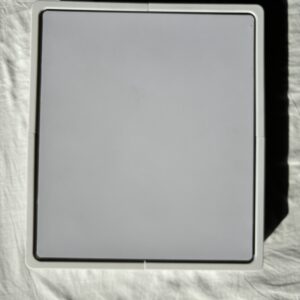
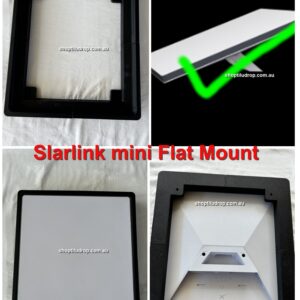
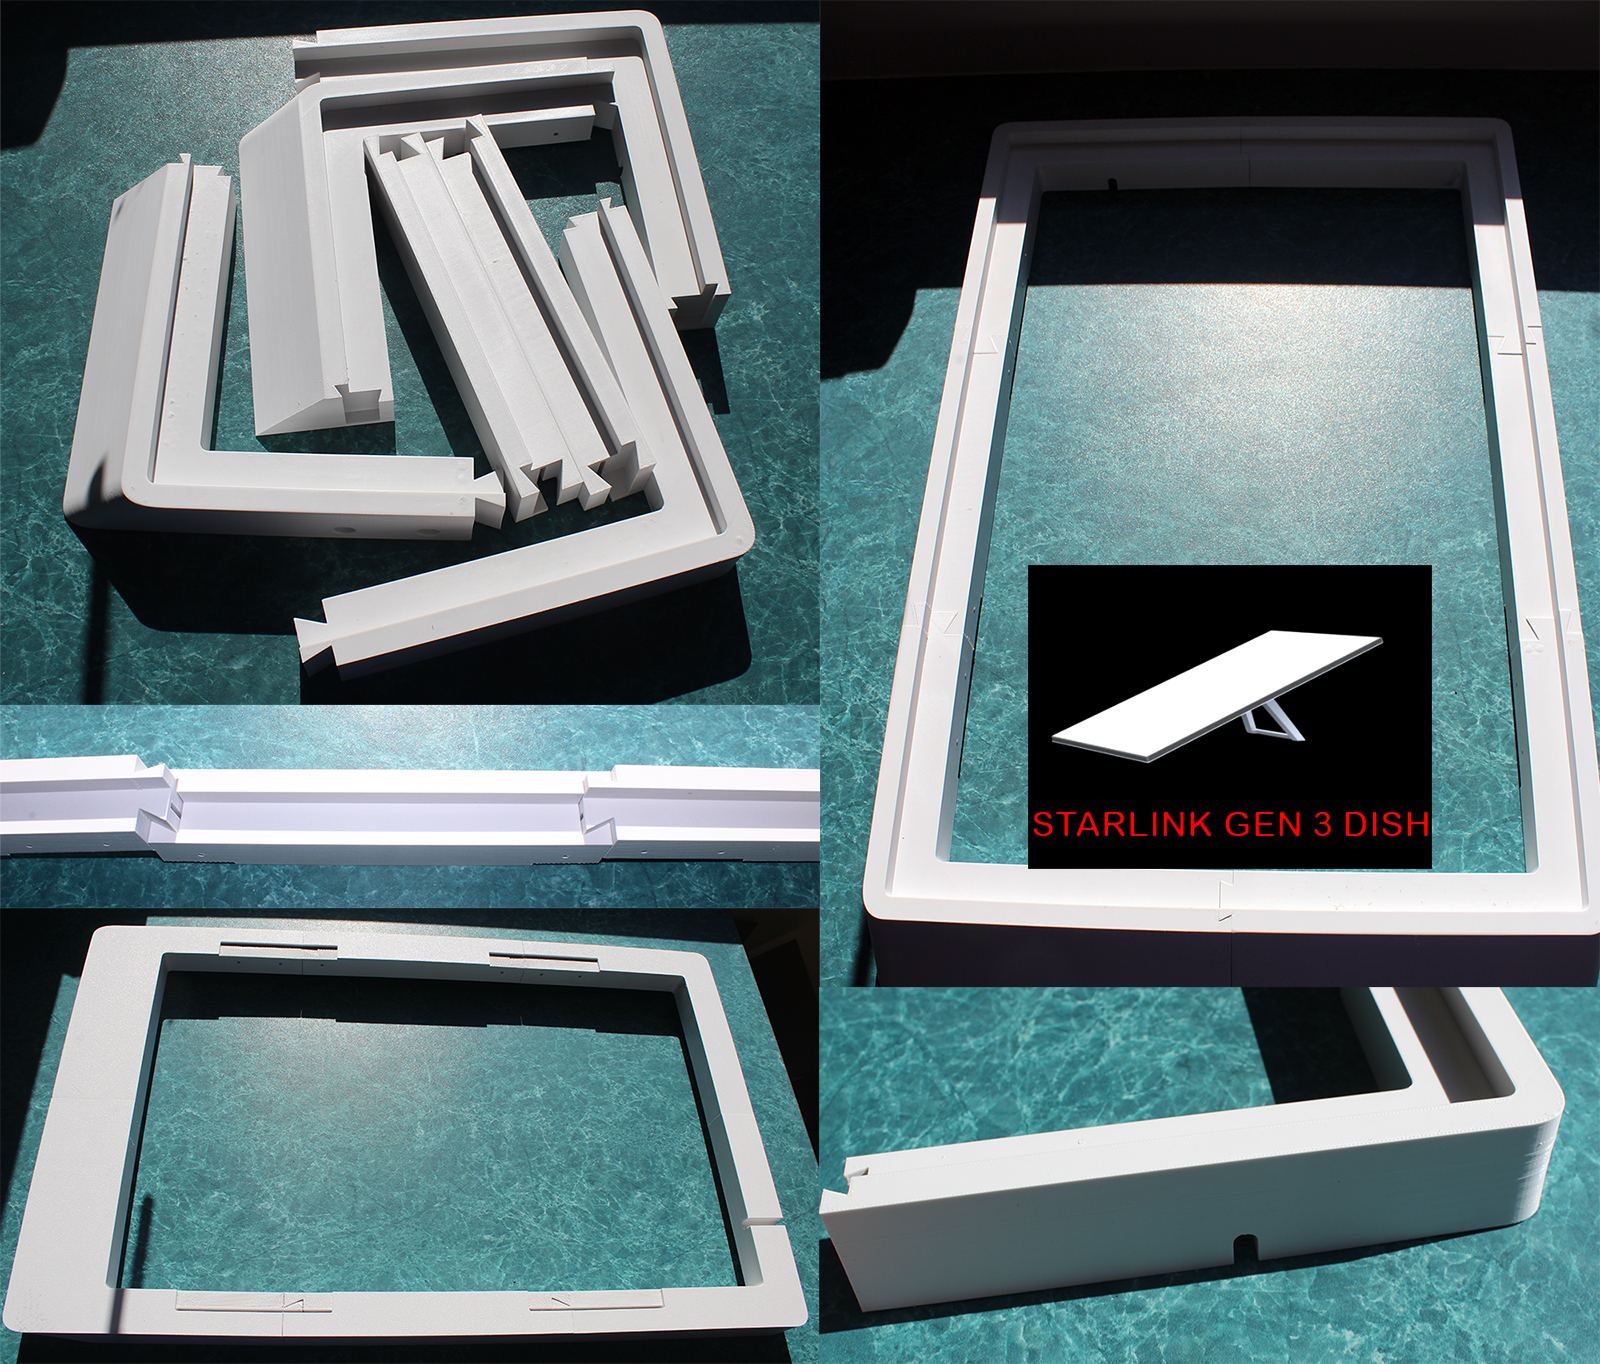
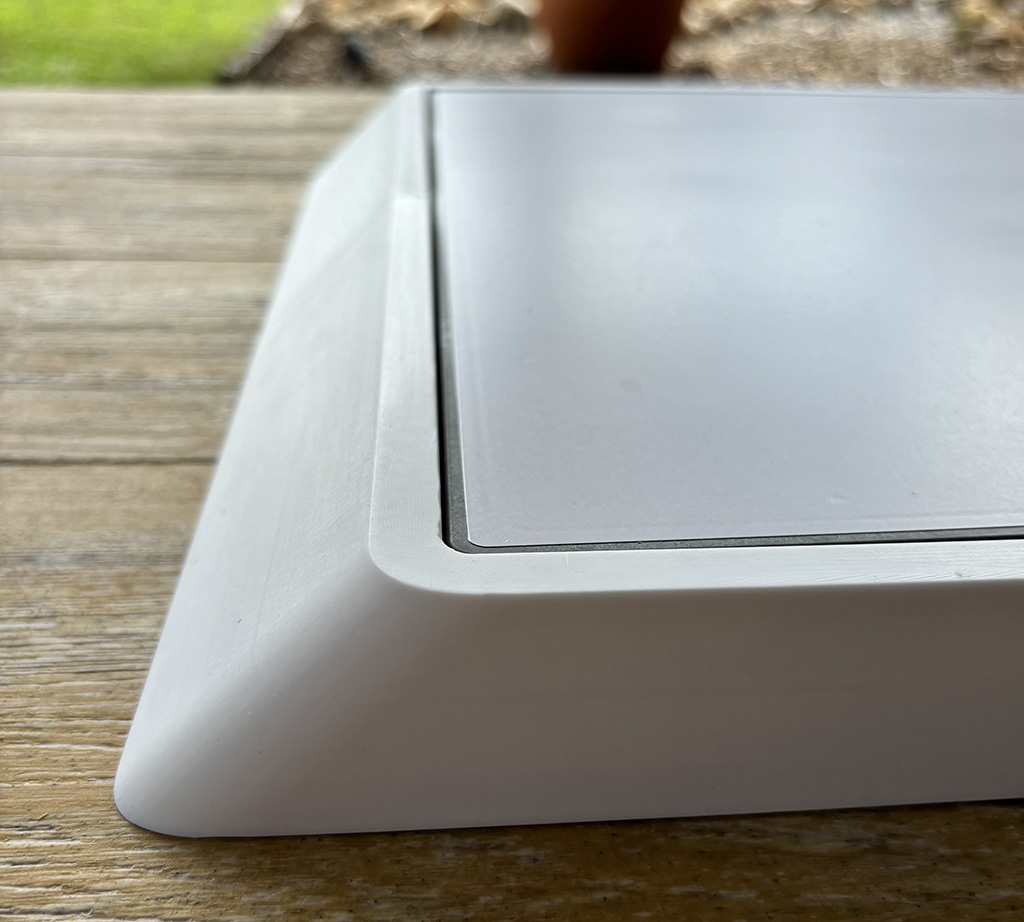
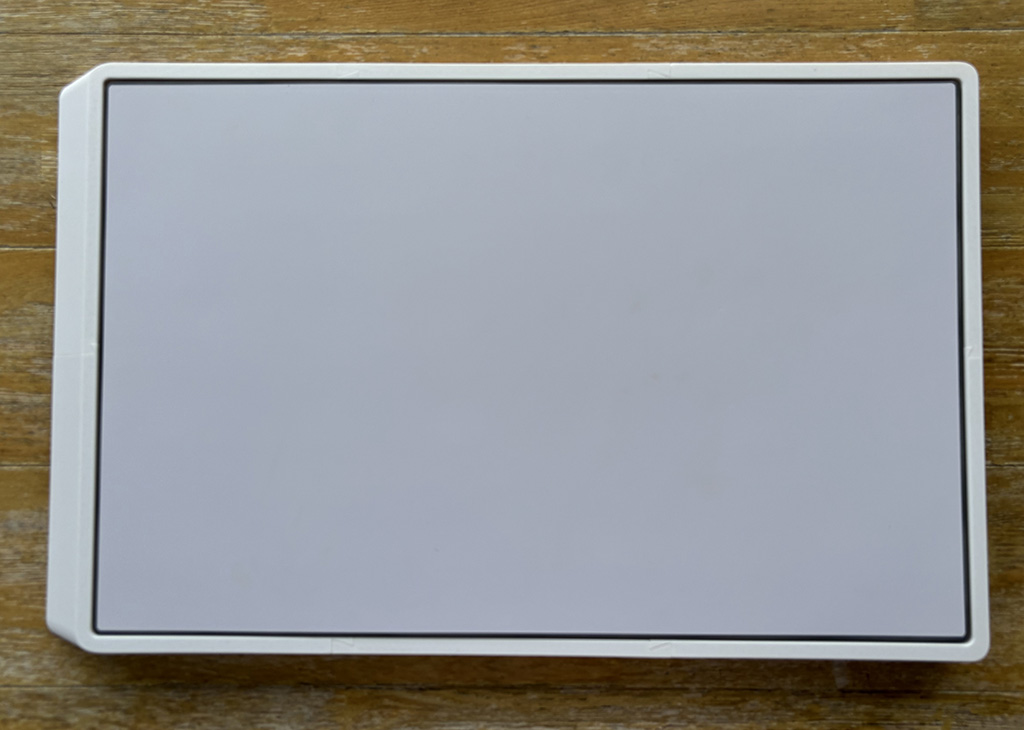
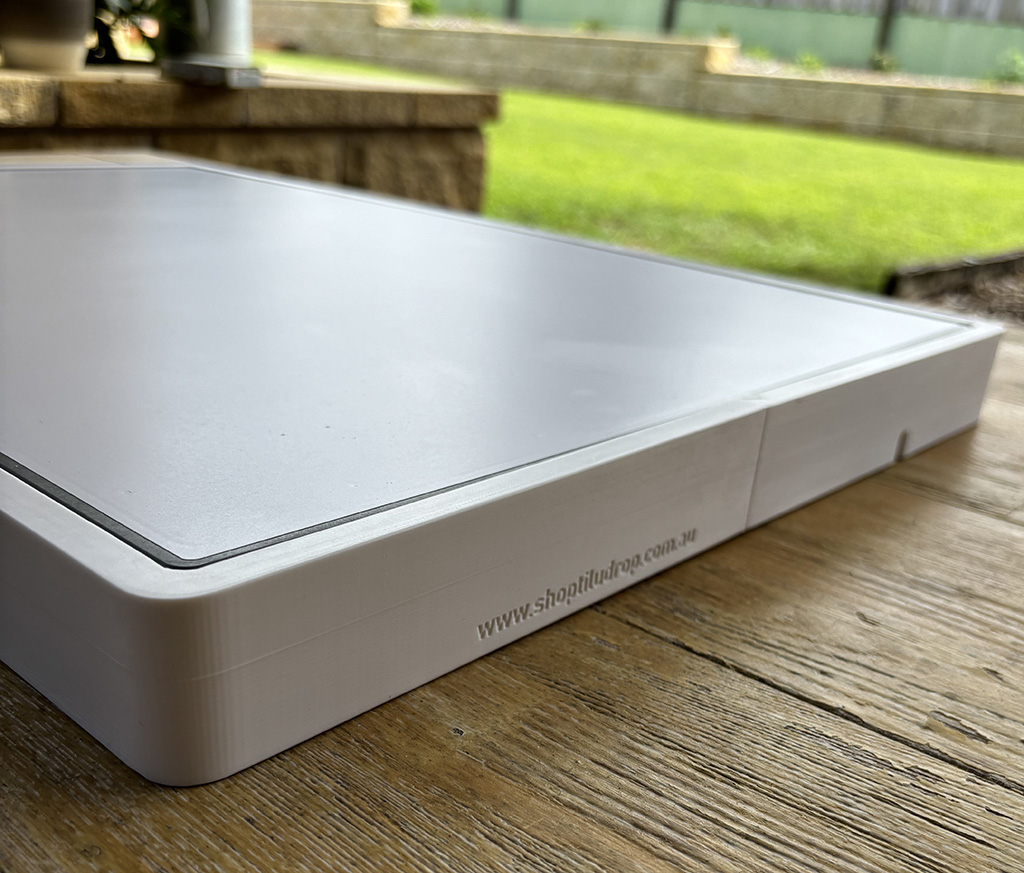
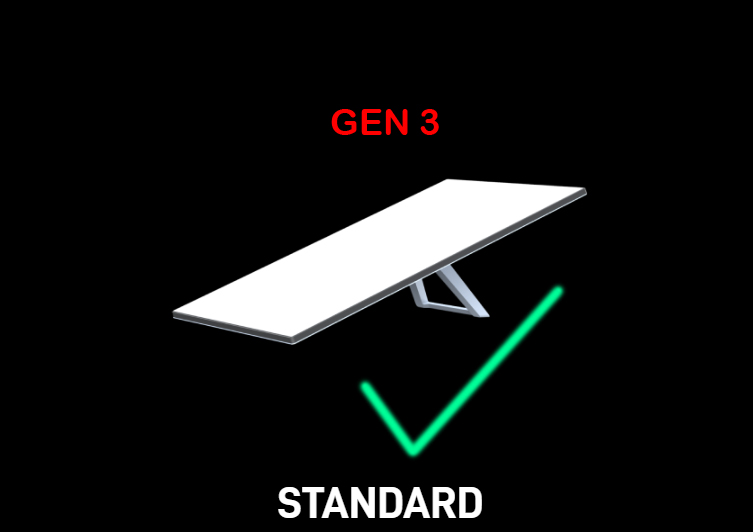
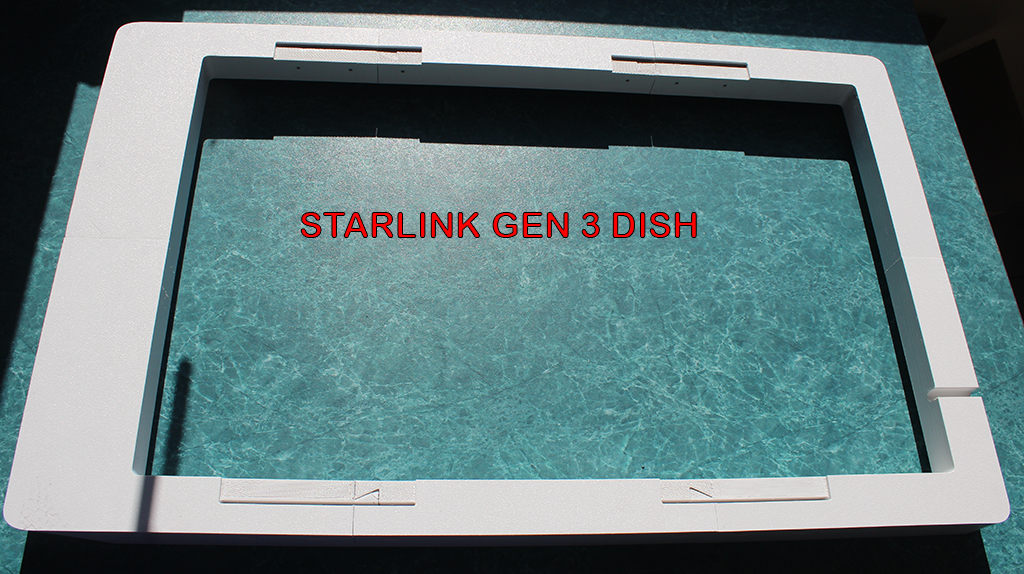
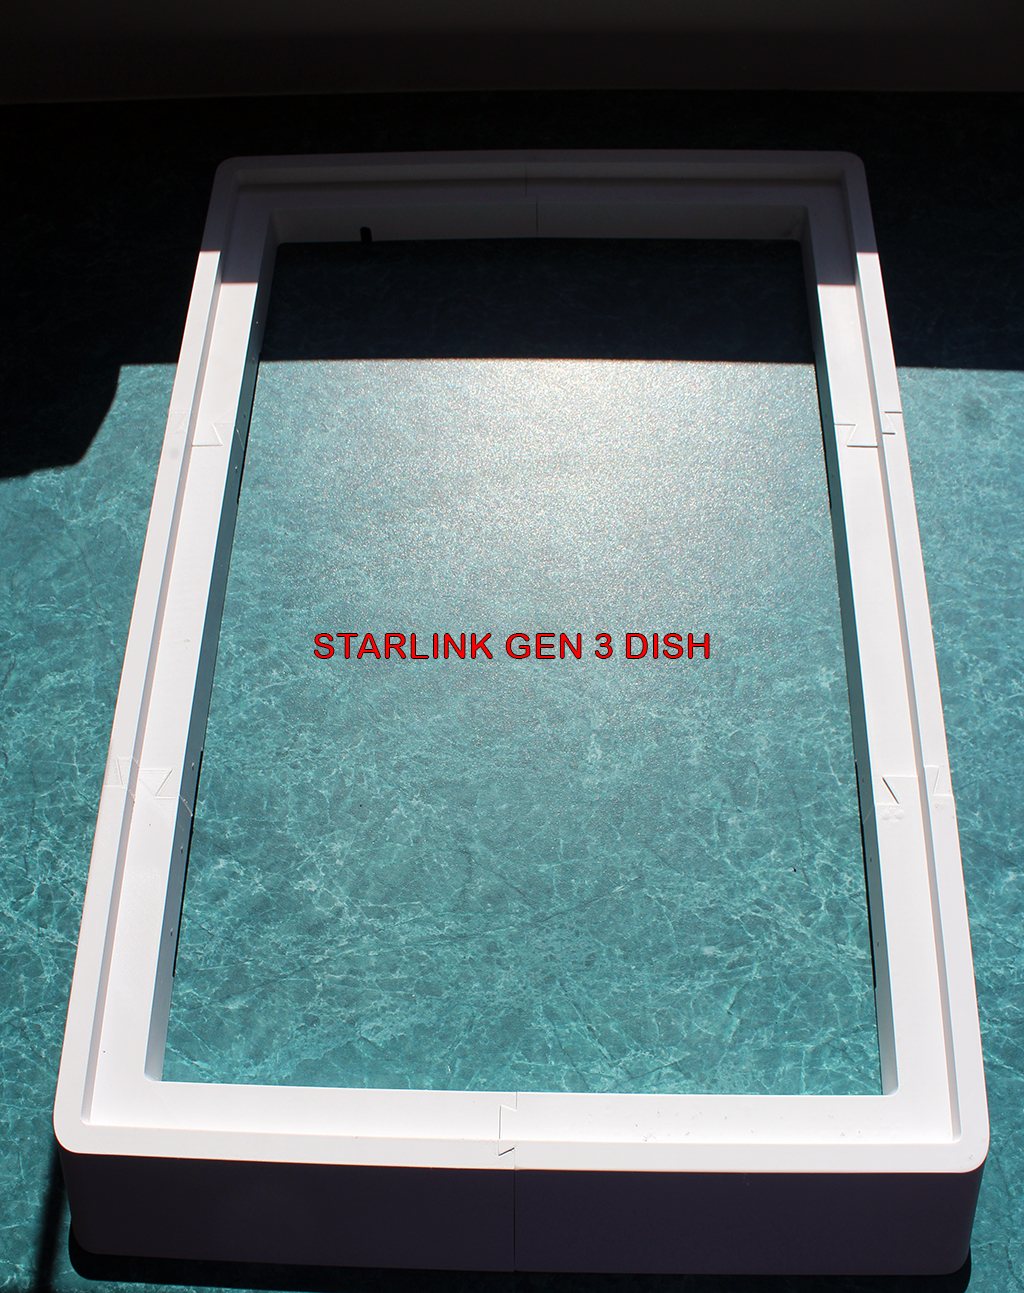
Designed and 3D printed by DigArt Australia in Queensland, this low-profile mounting kit is made specifically for the Starlink Gen 3 rectangular dish.
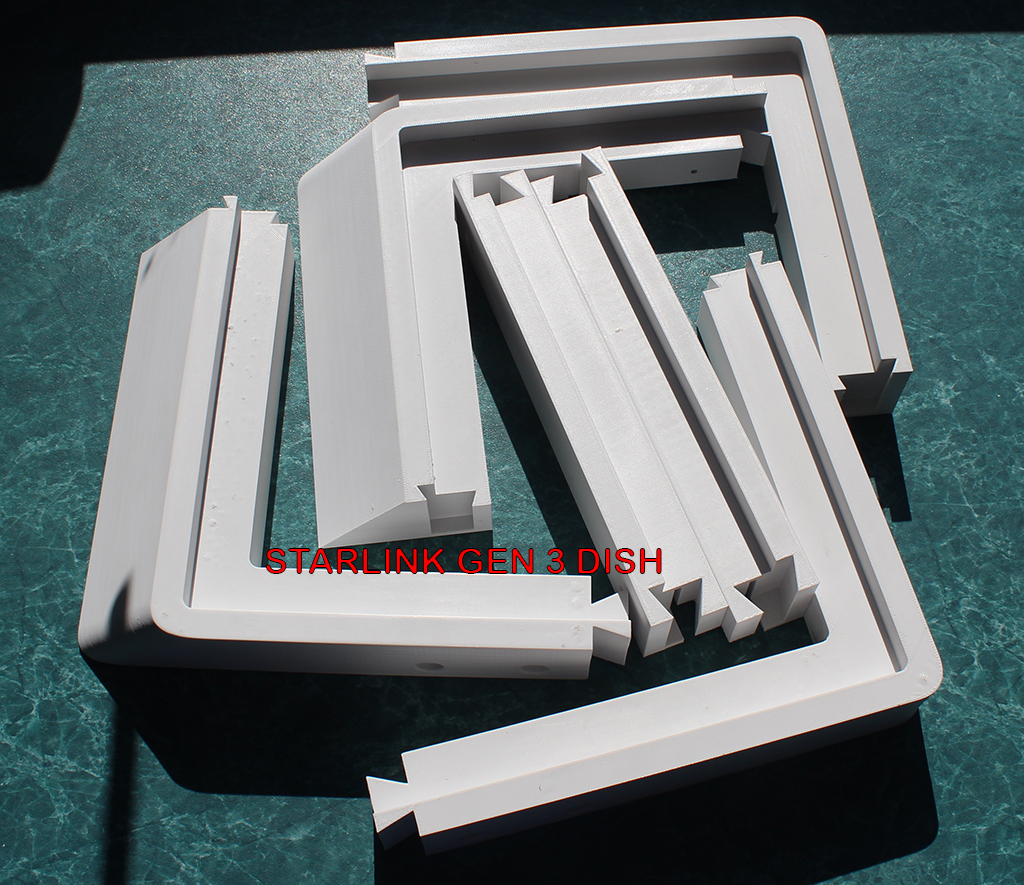
The six-piece design creates a clean supporting frame suitable for caravans, camper trailers, motorhomes, 4WD touring setups, boats and compatible roof racks.
Key Features
- Designed specifically for the Starlink Gen 3 rectangular dish
- Clean, low-profile mounting design
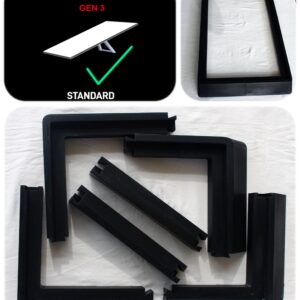
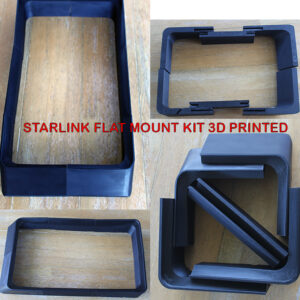
- Six-piece modular mounting kit
- Manufactured from durable, heat-resistant white ABS
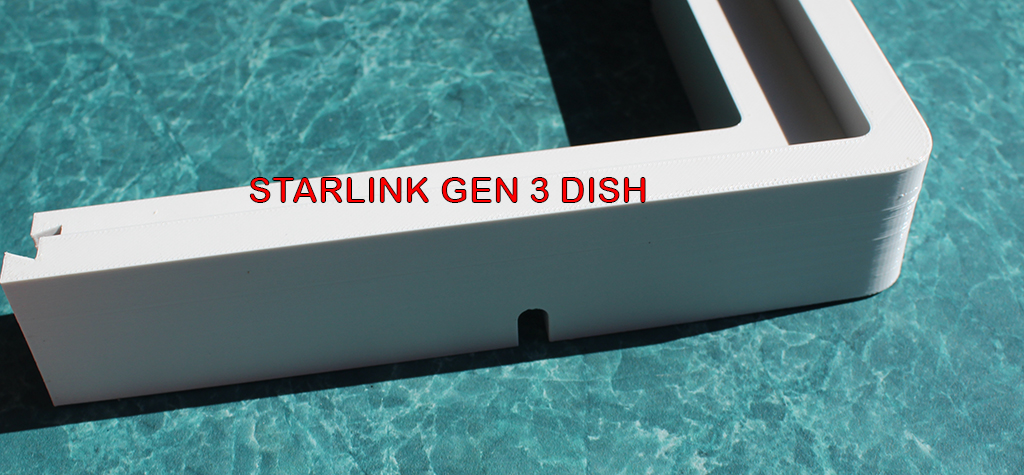
- Printed with five perimeter walls for additional rigidity
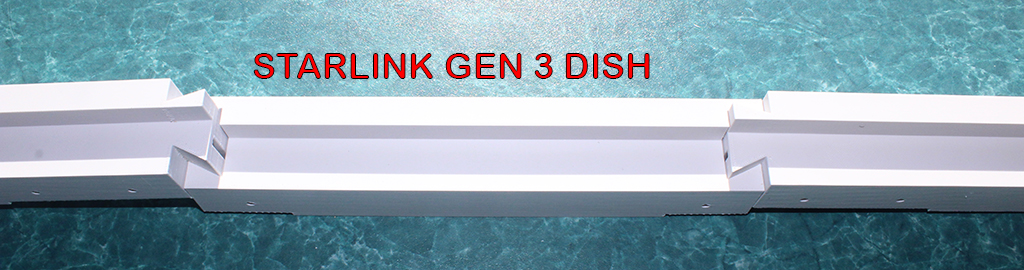
- Aluminium angle slides inside adjoining sections to reinforce the joins
- Suitable for mechanical or adhesive-based installation
- Can be prepared and painted if a different finish is desired
- Designed and manufactured in Queensland, Australia
Durable ABS Construction
Each component is manufactured from heat-resistant white ABS using five perimeter walls for added strength and rigidity. The six printed sections combine with aluminium angle to create a strong supporting frame around the Starlink Gen 3 dish.
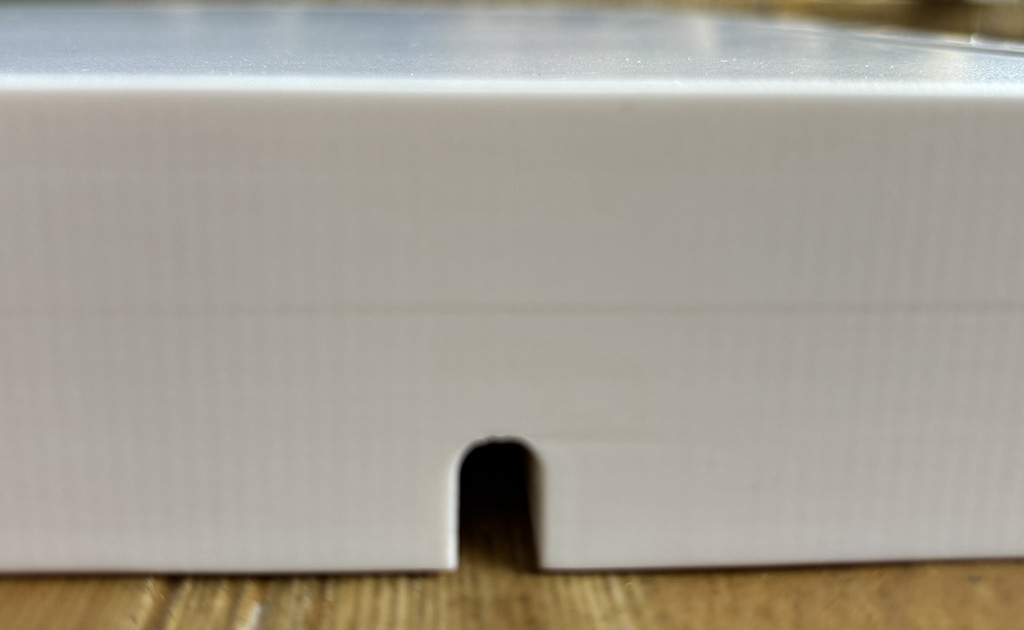
As with all 3D-printed products, subtle layer lines and small surface variations may be visible. These are normal characteristics of the manufacturing process and do not affect the intended operation of the mount.
Colour and UV Protection
This kit is supplied in white ABS. It may be retained in its original finish or prepared and painted to complement your vehicle or installation.
For extended outdoor exposure, we recommend applying a suitable UV-stable coating that is compatible with ABS. Follow the coating manufacturer’s surface-preparation and application instructions.
Package Contents
- 1 × six-piece DigArt Starlink Gen 3 flat-mount kit in white ABS
Additional Installation Materials
The following items are required or may be required, depending on the vehicle, roof rack and mounting surface:
- 4 × suitable lengths of 25 × 30 mm aluminium angle with a wall thickness of 2 mm or 2.5 mm to suit the joins
- 12 × M3 stainless-steel flat-head screws
- Appropriate mounting fasteners for the installation surface
- A suitable flexible sealant or adhesive, such as a compatible Sikaflex product
- Automotive-grade double-sided mounting tape, where appropriate
- ABS-compatible adhesive, if required
- Plastic primer, paint or a UV-stable protective coating
Each length of aluminium angle slides inside two adjoining printed sections, bridging and supporting the join. Measure the required lengths and confirm that the selected 2 mm or 2.5 mm wall thickness fits the joins correctly before cutting or drilling.
Installation Guide
1. Confirm Compatibility
Before beginning, confirm that your dish is the rectangular Starlink Gen 3 model. Dry-fit the printed components around the dish and check the position and orientation of every section.
2. Select the Aluminium Angle
Use 25 × 30 mm aluminium angle with a wall thickness of either 2 mm or 2.5 mm to suit the joins. Test the fit inside the joining channels before measuring, cutting or drilling.
3. Measure and Cut the Aluminium
Measure and cut four lengths of aluminium angle to suit the mount and your particular installation. Confirm every measurement before cutting.
4. Assemble the Frame
Arrange the six printed components around the Starlink Gen 3 dish. Slide each length of aluminium angle inside two adjoining printed sections so that it bridges and supports the join.
Continue assembling the sections until the complete frame is formed. Confirm that the frame is square, correctly aligned and does not obstruct the Starlink cable connection.
5. Secure the Components
Secure the printed components to the aluminium angle using the 12 appropriate M3 stainless-steel flat-head screws. Check the alignment as the screws are installed.
Do not overtighten the screws, as excessive force may damage the printed components.
6. Secure the Starlink Dish
The dish may be retained using an appropriate mounting method such as automotive-grade double-sided tape, a compatible flexible sealant or another method suitable for the installation.
Confirm that the dish, frame and all supporting components are secure before travelling. Inspect the complete installation regularly and after rough-road travel or severe weather.
Before Installation
- Confirm that your device is the rectangular Starlink Gen 3 model.
- Check that the mounting surface is sufficiently strong and suitable.
- Test the aluminium angle inside the joins before cutting or drilling.
- Plan the cable route before securing the mount.
- Allow sufficient clearance around the dish and cable connection.
- Position the dish where it has the clearest practical view of the sky.
- Confirm that every component is secure before driving or travelling.
Important Operating Information
Do not place a solid or clear cover over the Starlink dish. Covering or enclosing the unit may affect signal performance and heat dissipation. Install and operate the dish in accordance with Starlink’s current instructions.
This product is a mounting component only. DigArt Australia is independent of Starlink and SpaceX. Starlink hardware, cables, service, activation and installation are not included unless expressly stated.
Australian Designed and Manufactured
DigArt mounting components are designed and manufactured in Queensland for Australian touring and mobile installations. Each mount is produced with an emphasis on practical assembly, durability and a clean finished appearance.
Explore More Starlink Gen 3 Mounts
Prefer a darker finish? View our
black Starlink Gen 3 low-profile flat mount
.
You can also browse our complete range of
Australian-made Starlink Gen 3 mounts
for caravans, campers, motorhomes, 4WDs, boats and roof racks.
Need Help Before Ordering?
If you are unsure which Starlink model you have or whether this mount suits your installation,
contact DigArt Australia
before purchasing. Include a photograph of your Starlink unit and intended mounting location so we can provide a useful answer.